
Here at Cloudberries, one of the main questions we get asked (apart from ‘Who ate my puzzle piece?’) is ‘How do I glue the puzzle that I finished?’
Fear not, fellow puzzle lovers, for we have the answer!
In this post we’ll dive into this err… sticky question so you have all the info you need to keep your puzzles intact and enjoy them for years to come. So, grab your favourite puzzle, and let’s stick together.
Why you should glue your puzzles
Different types of puzzle glue
What’s the best type to use?
Our 5 favourite puzzle glues
Step-by-step glueing guide
Creative uses for glued puzzles

Hold up… why glue your puzzle in the first place?
So, let’s get down to the nitty-gritty of glueing puzzles and why it would be a good idea to glue one in the first place.
Well, if you’ve just spent hours (or even weeks) finishing a mega tricky puzzle, then being able to preserve it is a real game-changer.
You won’t have to worry about your puzzle falling apart, or having rogue pieces run off from the rest of the puzzle. And let’s not forget the best bit: once a puzzle has been glued it can be safely hung on the wall and shown off in all its nerdy glory.
So now we can start glueing, right?
Well, not so fast. The way that you glue your puzzle can make a big difference to the final look. And it is definitely possible to ruin a puzzle (and all that hard work) by covering your jigsaw in the wrong type of glue.
So before you get started, it’s important to choose the right glue and to have some sort of strategy in place for how and where you’re going to start glueing.
With the right tools and techniques, glueing your puzzle can actually enhance its beauty and longevity, and make it into something a little bit more permanent that you can happily show off.
Types of puzzle glue
There are a few types of glue you can use to glue your finished puzzle together. Let’s run through the most common ones and highlight their pros and cons as well:
Liquid glue
This type of puzzle glue comes in a bottle and is applied with a brush. Liquid glue is a popular choice among puzzlers because it’s usually very easy to apply and dries clear.
However, it can be tricky to get even coverage across the puzzle, so you’ll need to spend quite a bit of time working with a spreader – and if you apply too much glue, making it too wet and heavy, you could risk warping the puzzle.
Pros
Easy to apply
Dries clear
Plenty of options
Cons
Hard to get even coverage
Can warp puzzles
Spray adhesive
Spray adhesive is a quick and easy way to glue your puzzle. You just simply spray the adhesive over the completed puzzle, wait for it to dry, and you’re done.
Spray adhesive is great for large puzzles or those who want to save time, but it may not be as strong as the other types of glue. If you decide to use spray glue for your puzzle, it might be worth adding a backing layer behind the puzzle to give it a bit more strength. Spray glue can be a bit harsh and smelly to use, so make sure you wear a mask and work in a well-ventilated room.
Pros
Very quick process
Gloss and matt versions available
Cons
Tends to be more expensive
Not very strong
Good ventilation required
Conserver sheets
Conserver sheets are thin, adhesive-backed sheets that are placed over the back of the puzzle and then trimmed to fit.
These handy sheets can be a great option if you want to preserve your puzzle without the mess (or smell) of sticky glue.
However, this option may be more expensive, and may not be as secure as regular glue. It can also be tricky to find sheets big enough to cover even a normal-sized 1000-piece puzzle, so you might ended up placing multiple sheets together to get the right result.
Pros
No mess
No smell
Can be trimmed to fit
Cons
Rarely big enough
May end up taking longer
What’s the best type of puzzle glue?
For first-timers glueing regular, rectangular puzzles, we recommend using liquid puzzle glue. Although it might not be the easiest option to work with, this option provides a strong hold and also allows for some adjustment time before it dries which will give you the chance to make any necessary changes before it dries completely.
Liquid glue is also readily available in most craft stores and online, making it a convenient option for beginners. There are times when liquid glue is not the best option, though – with irregular-shaped puzzles or bigger beasts, like a 2000-piece puzzle, then a spray adhesive will probably be a better option.
Our 5 favourite puzzle glue products
Before diving into specific product recommendations, let’s set something straight: you don’t actually NEED to use a dedicated puzzle glue. Clear-drying PVA works well, but is sometimes a bit thicker and harder to spread.
So if you don’t want to deal with that hassle, and don’t mind paying a little more for the right result, it might be worth using glue that’s designed specifically for binding puzzle pieces together.
Let’s look at the five best puzzle glue products and what makes them so good:
PuzzleWorx Jigsaw Puzzle Glue

Type: Liquid glue
Approximate price: $17
Enough glue for 2 x 1000-piece puzzles
For this price, you get a pack of two individual glue bottles. This product dries fast, is easy to apply (a glue scraper is included!), and it shouldn’t leave any streaks.
This glue is also 100% non-toxic and safe to use, making it a great option if you have kids or pets at home. The reviews are outstanding as well, with most people saying this product does a fantastic job with glueing their puzzles. Like all liquid puzzle glues, it can be a bit messy to work with if not used with care.
Jigsaw Puzzle Glue with Applicator

Type: Liquid glue
Approximate price: $6
Enough glue for 1 x 1000-piece puzzle
This product comes with glue and an applicator. It’s only enough for one puzzle, so if you’re just starting out, this product could be a good tester. It works well with any and all puzzles, so you could consider using it with any of our 1000 piece puzzles and see how it works yourself!
Mod Podge Spray Acrylic Sealer

Type: Spray glue
Approximate price: $10
Enough glue for at least 1 x 1000-piece
This spray is not specifically made for puzzles, but still works like a charm! It dries crystal clear and dries quickly. The best part? If you accidentally spray it anywhere other than the puzzle itself, it’s super easy to clean.
Peel & Stick Puzzle Saver
Type: Glue sheets
Approximate price: $8
Enough glue for 3 x 1000-piece puzzles
These peel-and-sticks are great for those who don’t want any mess. All you have to do is peel off the cover, and stick it onto the puzzle! It comes with 18 sheets per package and only 6 sheets per 1000-piece puzzle.
It also comes with a scraper, which will allow you to get out any air bubbles that get trapped beneath the sheets.
2 x 1000 Piece Puzzle Sheets

Type: Glue sheets
Approximate price: $17
Enough glue for 2 x 1000-piece puzzles
This product is similar to the last one, with a tonne of 5-star reviews highlighting how easy they are to use.
One or two puzzlers have said you might need to add a backing layer to your puzzle for these to be strong enough, but clearly this is something that depends on the thickness of the puzzle you’re glueing. Most reviews are very, very positive!
Step-by-step guide to glueing puzzles
Here’s our step-by-step guide to using puzzle glue.
Before starting:
Place the puzzle on a mat or board to make it easier to move the puzzle once it’s glued (just bear in mind that this will like get some glue on it, so don’t use your favourite puzzle board!)
- Make sure your puzzle is completely flat and all of the pieces are in place before you start glueing
- Remove any dust by blowing or gently brushing the surface with a fine cloth
- Choose your glue. As we’ve seen, there are different types of glue to choose from. Decide which one is best for your puzzle and personal preferences.
Once you’re ready to glue:
- Prepare your workspace. Before you start glueing, make sure your workspace is clean. Place a protective sheet or newspaper over your work surface to prevent any glue from getting on it.
- Apply the glue! If you’re using liquid glue, apply a thin layer over the entire surface of the puzzle using a brush. If you’re using a spray adhesive, hold the can about 12 inches away from the puzzle and apply a light, even coat. If you’re using conserver sheets, just follow the instructions on the package.
- Wait for the glue to dry. Depending on the glue you’re using, it may take anywhere from a few hours to overnight for the puzzle to fully dry. Be patient and resist the urge to touch or move the puzzle until the glue is completely dry. At this stage, you may decide you need to apply another coat of glue, pushing the glue carefully into any gaps to really strengthen the puzzle.
- Trim the excess. Once the glue is dry, you can now trim any excess glue or conserver sheet from around the edges of the puzzle using a sharp knife or scissors. Be careful not to cut the puzzle!
More top tips to get a perfectly glued puzzle:
- If you’re using liquid glue, make sure to spread it evenly to avoid any lumps. Don’t go overboard with the glue, or your puzzle might get bumpy and warped. You can always apply a second coat later.
- If you’re using spray adhesive, protect your workspace by covering it with newspaper or a protective sheet.
- Be gentle when spreading the glue, or your puzzle pieces might start shifting and moving around.
- Be patient and give the glue enough time to dry completely before handling the puzzle.
- Always read and follow the instructions on the glue packaging.
Creative display ideas for glued puzzles
So, now you’ve glued your work of art together and are looking to display it. But how should you showcase your masterpiece? Here are some of our suggestions:
- Frame it: A frame can give your artwork a polished look and protect it from dust and damage. You can even choose a frame that complements your artwork and fits its size.
- Use a wall-mounted display: A wall-mounted display is a great option if you have limited space. You can use shelves, hanging systems, or even make your own display board to showcase your art.
- Utilize a puzzle table: Using a puzzle table is a fun and practical way to display it. You can choose a table that fits the size of your puzzle and keep it on display for everyone to enjoy.
- Do it yourself: If you’re feeling creative, you can make your own display stand or hanger using materials like wood, wire, or rope. This option allows you to customize your display to your liking and create something truly unique.
Other nerdy ideas for your glued puzzle
Whether or not you go for one of these more creative ideas will probably depend on how much you like the look of the puzzle, and how comfortable you are with chopping it up. Glueing a puzzle for the first time? Our tip is to focus on the basics, and then get more creative as your confidence increases.
Tabletop or countertop
Attach the puzzle to a piece of plywood or acrylic sheet cut to size, then cover it with a glass or clear acrylic sheet to create a unique tabletop or countertop for a coffee table, side table, or kitchen island.
Serving tray
Use strong backing paper and then attach handles to the sides of the puzzle and use it as a unique serving tray for light drinks, snacks, or appetisers.
Coasters
If your glued puzzle is strong enough, use a jigsaw (the power tool kind!) to cut it into round pieces to create individual coasters for your drinks. Apply a layer of clear, waterproof sealant to protect the surface.
Clock
Add a clock mechanism to the center of the puzzle and transform it into a functional wall clock. You can buy clock kits online or at your local craft store.
Photo frames
Cut out the center of the puzzle and attach a photo to create a custom photo frame. You can either hang it or add a stand to the back to display it on a table.
Puzzles worth glueing
-
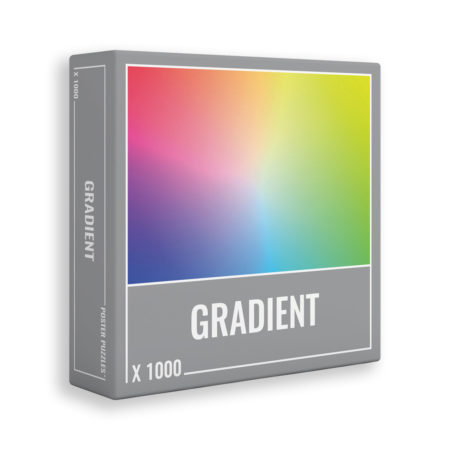 Gradient Jigsaw Puzzle (1000 pieces)US $24.99
 -
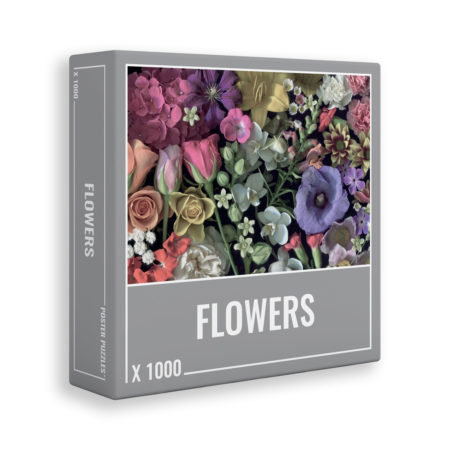 Flowers Jigsaw Puzzle (1000 pieces)US $24.99
 -
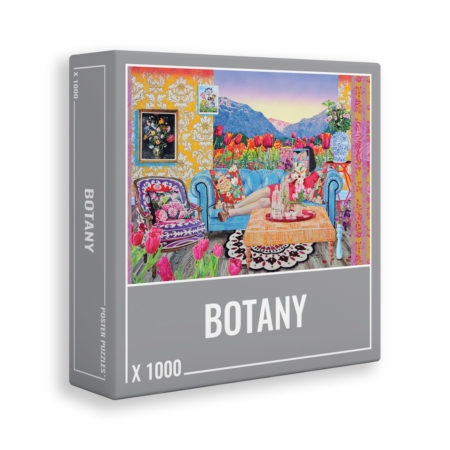 Botany Jigsaw Puzzle (1000 pieces)US $24.99
 -
 Symmetry Jigsaw Puzzle (1000 pieces)US $24.99
 -
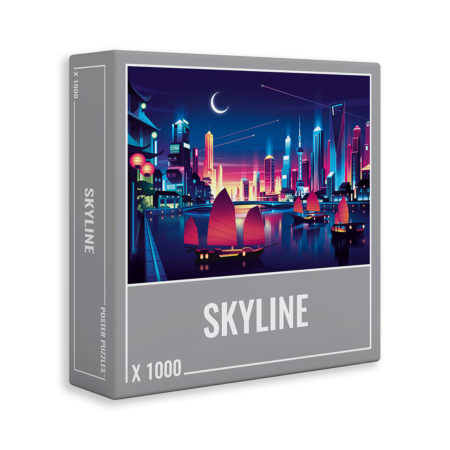 Skyline Jigsaw Puzzle (1000 pieces)US $24.99
 -
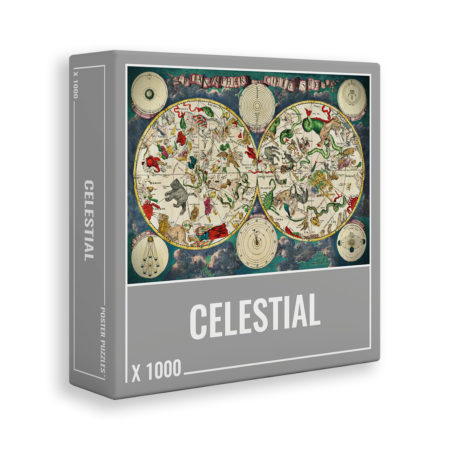 Celestial Jigsaw Puzzle (1000 pieces)US $24.99
 -
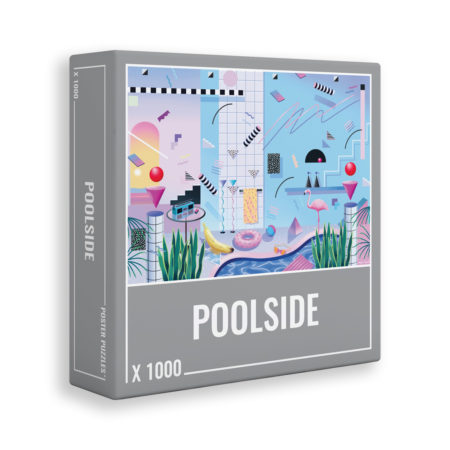 Poolside Jigsaw Puzzle (1000 pieces)US $24.99
 -
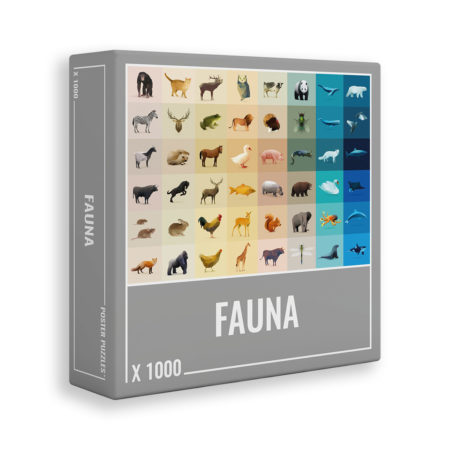 Fauna Jigsaw Puzzle (1000 pieces)US $24.99
 -
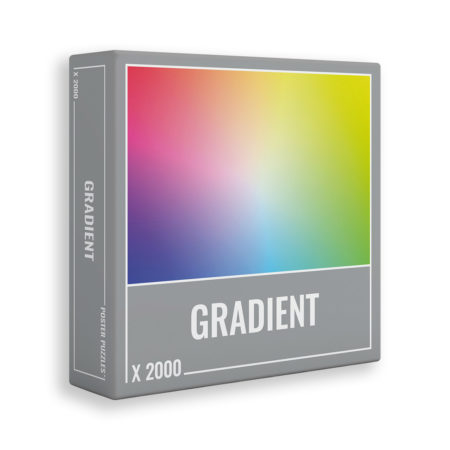 2000-Piece Gradient Puzzle (2000 pieces)US $39.99
 -
 Crossroads Jigsaw Puzzle (1000 pieces)US $24.99